Installing a flagpole onto your property can be an exciting way to display your patriotism with the American flag and show off your lawn or garden. However, it is essential to ensure the installation process is completed correctly. In this blog post, we will discuss the steps needed for successfully setting up a flagpole to stand strong while displaying flags of every type and size throughout every season! With our guidance, you’ll soon have pridefully flying flags at your home that everyone in the neighborhood can admire. From flag pole permit to equipment, we cover all.

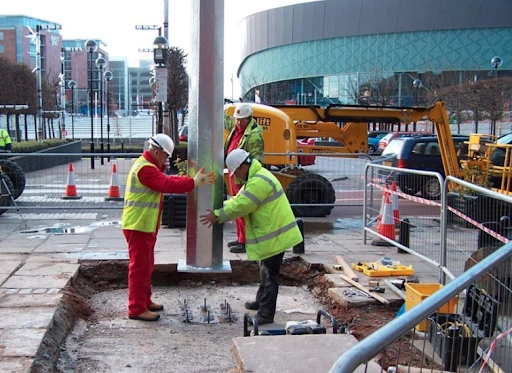
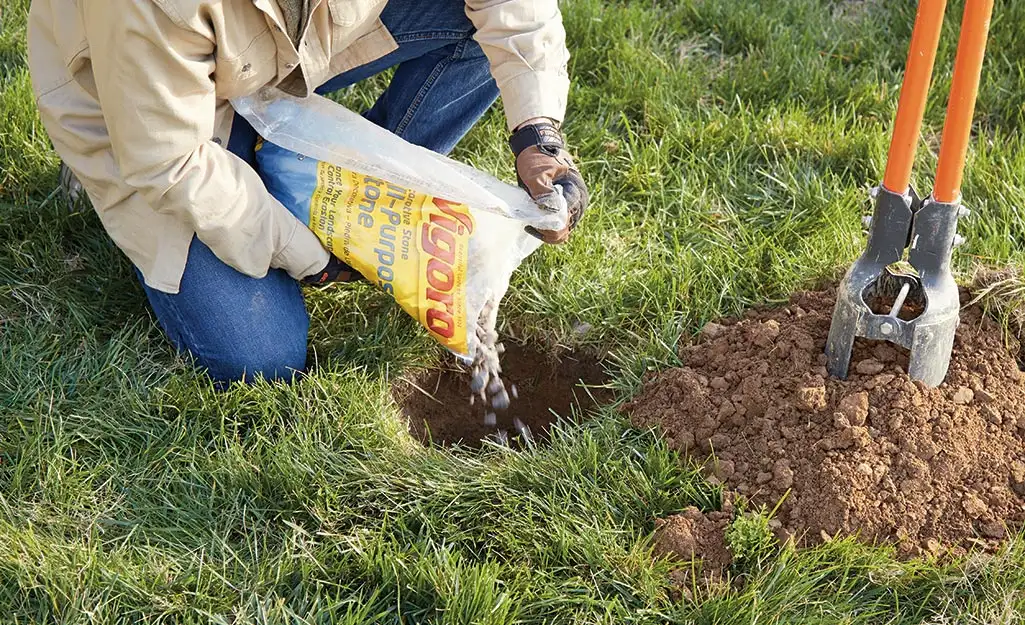
The first step in residential flagpole installation is to dig the foundation hole. Check for the soil. It’s often challenging to dig in sandy soil. The size of the hole should be three times the flagpole’s diameter and approximately 2-3 feet deep below the ground level. The soil should be compacted and leveled before setting the ground sleeve. Use the proper gravel container and equipment.
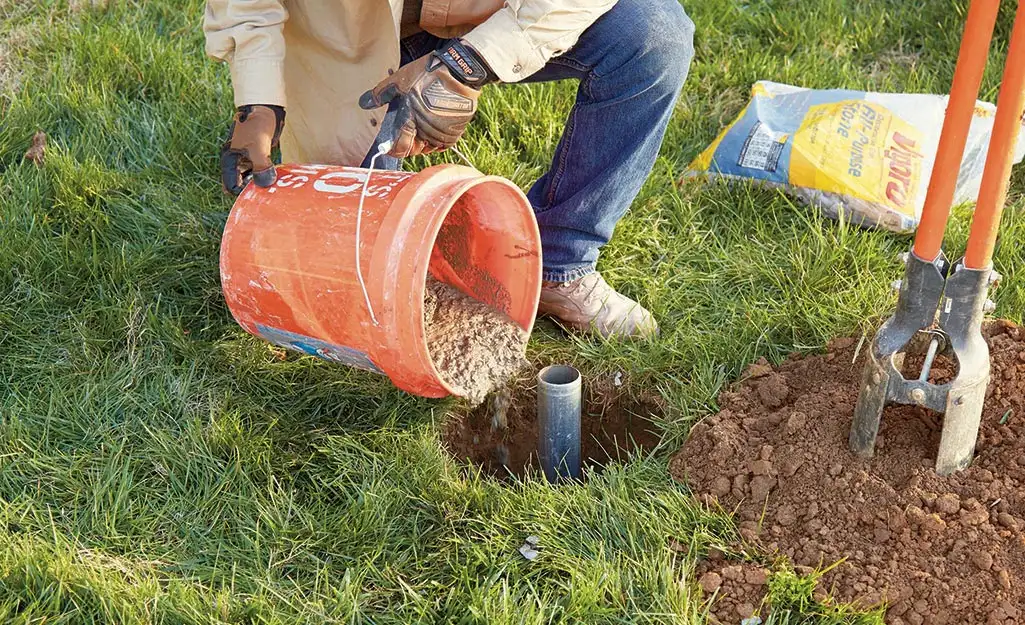
The pole ground sleeve is a PVC or metal pipe placed in the foundation hole to support the flagpole. The sleeve should be 6 inches longer than the height of the hole to provide ample space for concrete to be poured. The ground sleeve is then centered in the hole and secured in place using stakes or braces. The pole should be checked for levelness using a level tool before continuing with the installation process.
Post hole digger, mix the concrete in a wheelbarrow or mixing tub, following the instructions on the bag. The concrete should be poured around the sleeve and allowed to dry completely, which usually takes about 24-48 hours. You can follow the standard or quick-drying process. Once the cement hardens, remove the wooden stakes or braces and check the pole ground sleeve for the ground level.

Now that the foundation hole and pole sleeve is in place, it’s time to unwrap the flagpole and attach the hardware. The flagpole should be handled with care to avoid scratching or denting the surface, and it should be unwrapped and laid out flat.
Depending on the type of flagpole, it may come with various hardware, including cleats, halyards, snaps, stop bolts, pole plumb, flash collar power lines, and pulleys. These items are essential to raising and lowering the flag smoothly and securely.
Begin by attaching the halyard to the top of the pole, and then run it through the pulley, securing it tightly. Next, attach the snaps to the halyard, ensuring they have space evenly to avoid tangling. Finally, attach the cleats to the pole, securing them tightly so they won’t move or rotate. Use safety gear to prevent personal injury when you install a flagpole.

When it comes to flagpole installation, attaching the rope or halyard is an essential step to ensure that your flag can fly high and proud. The string or halyard is what holds the flag in place, so it’s crucial to get this step right. Your flag pole climbing skills are seen here.
To start, you’ll need to attach the rope or halyard to the truck of the flagpole, which is the component at the very top of the pole. One end of the rope or halyard should be tied securely to the truck using a knot that won’t come undone easily.
Next, you’ll need to thread the rope or halyard through the truck and down the length of the pole. You may need to use a pulley system or other equipment to make threading the rope or halyard easier.
Once the rope or halyard is in place, make sure to tie a strong knot at the bottom of the pole to keep it in place. Consider adding a cleat to the pole at this point to make it easier to adjust the height of your flag later on.

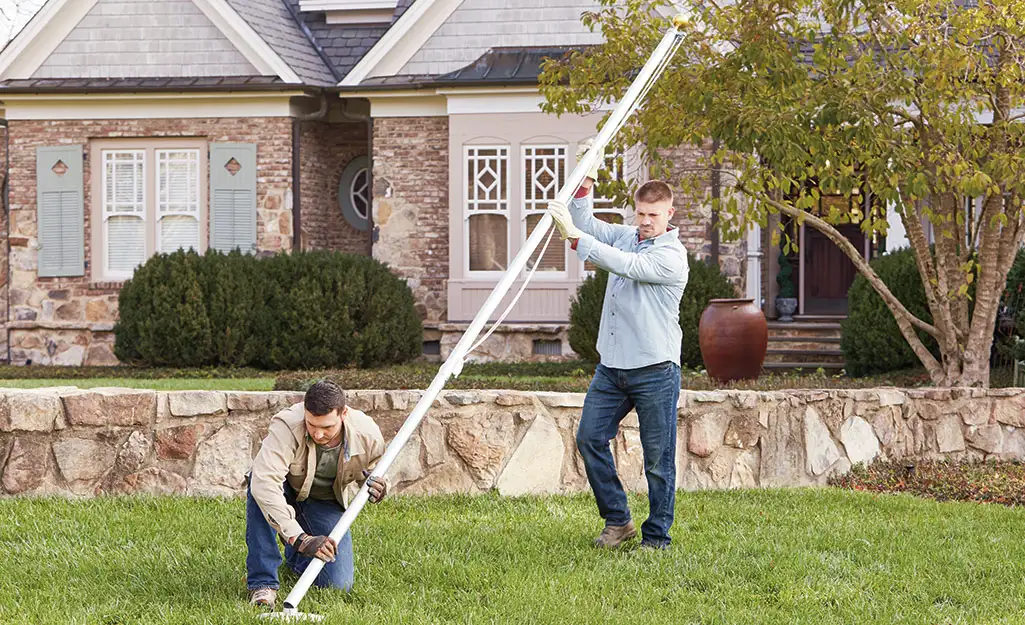
Now that the rope or halyard is attached and the flagpole is securely in place, it’s time to raise the pole and fly your flag for the first time! Proceed carefully to avoid any accidents or damage to the pole.
To raise the flagpole, start by attaching the flag to the rope or halyard using metal clips or ties. Ensure the flag is secured correctly and isn’t twisted or tangled in the ropes.
Next, slowly begin pulling the rope or halyard to raise the flag. As you pull, the truck and flag should start to inch their way up the pole. Keep pulling until the flag is at the desired height, and then tie off the rope or halyard to the cleat on the pole.
Congratulations, you’ve successfully installed and raised your flagpole! Now you can sit back and enjoy your flag waving in the breeze. Just remember to lower the flag during inclement weather or at night to keep it in good condition.
Mon-Fri 07:00–17:00
Sat 07:00–13:00
Sun Closed
Copyright © 2025 New England’s Best Flags. All Rights Reserved.